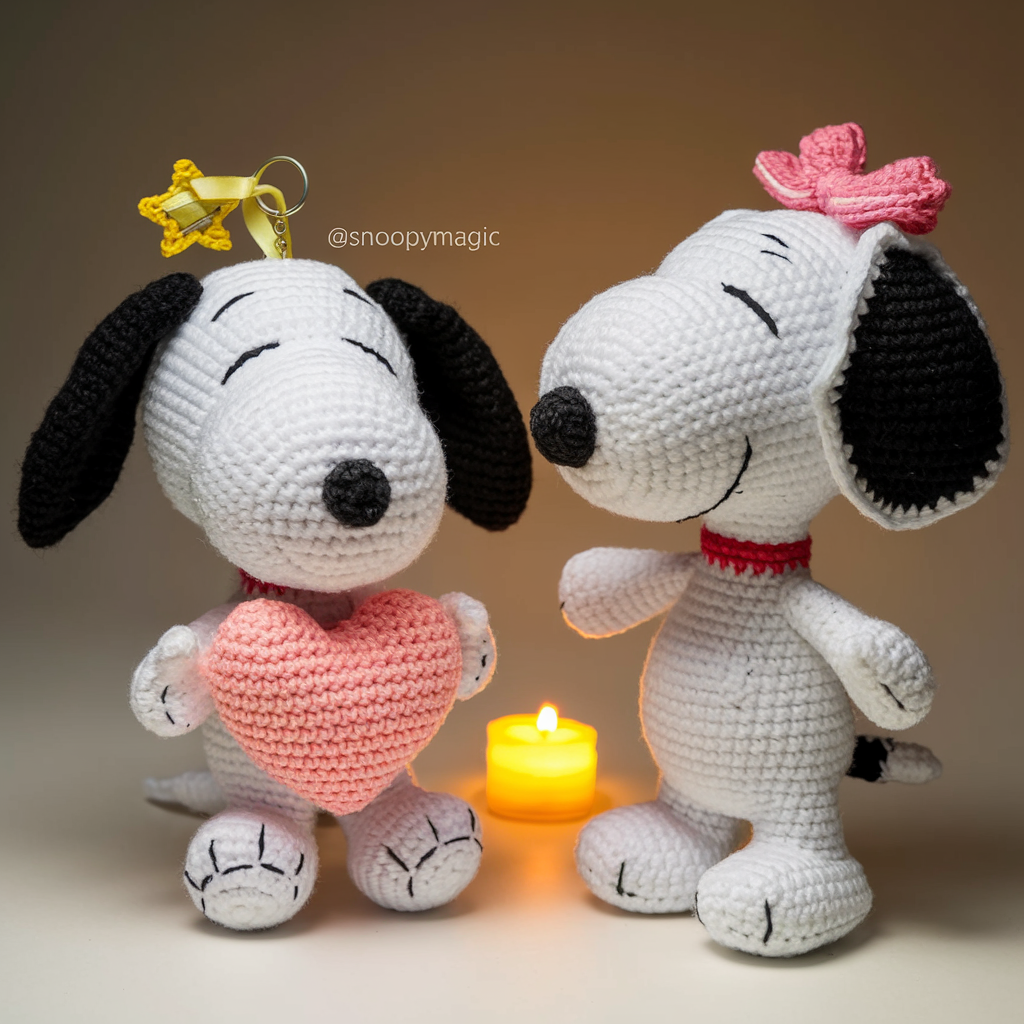
DIY Crochet Snoopy Keychain: Free Pattern & Step-by-Step Guide
Share
Crochet Your Own Snoopy Keychain: Step-by-Step Guide
Welcome to this easy-to-follow crochet tutorial, where we'll guide you in creating a cute Snoopy keychain! Whether you're an experienced crocheter or just starting, this tutorial is designed to help you create a fun, handmade Snoopy keychain that you can proudly display or give as a gift. Gather your materials and let's dive in!
Materials You Will Need:
- White crochet yarn (for the body and head)
- Black crochet yarn (for ears, eyes, and nose)
- Small amount of yellow yarn (optional, for collar)
- Crochet hook (size 2.5mm or suitable for your yarn)
- Stuffing (for the body)
- Plastic eyes (or black yarn to crochet eyes)
- Embroidery thread (for nose and mouth)
- Scissors
- Yarn needle (for sewing pieces together)
- Keychain ring
Crocheting the Snoopy Keychain
Body of Snoopy
We begin by creating the body of Snoopy, using a simple crochet technique known as a magic ring to start with the head and gradually work down the body.
- R1: Start with a magic ring and crochet 6 single crochet (sc) stitches in the ring. Tighten the ring to close. [6 stitches]
- R2: Crochet 2 single crochet in each stitch around (increase). [12 stitches]
- R3: Crochet (1 single crochet, 1 increase) repeat around. [18 stitches]
- R4: Crochet (2 single crochet, 1 increase) repeat around. [24 stitches]
- R5: Crochet (3 single crochet, 1 increase) repeat around. [30 stitches]
- R6: Crochet (4 single crochet, 1 increase) repeat around. [36 stitches]
- R7: Continue working in rounds, increasing by 1 stitch every round, until the body reaches the desired width. Weave in ends when the body is the correct size.
Finishing the Body
After reaching the appropriate size for the body, stuff it lightly with fiberfill to give it some shape. This adds life and volume to your Snoopy keychain. Close the top of the body by crocheting a few rounds without increasing, then finish off the stitch and weave in any loose ends.
Creating the Head
Now it’s time to crochet Snoopy's head. You’ll follow a similar method as the body, but this time the head will be slightly smaller. Keep the tension tight, so the shape of the head remains neat.
- R1: Start with a magic ring, crochet 6 sc in the ring. [6 stitches]
- R2: Crochet 2 sc in each stitch around (increase). [12 stitches]
- R3: Crochet (1 sc, 1 increase) repeat around. [18 stitches]
- R4: Crochet (2 sc, 1 increase) repeat around. [24 stitches]
- R5: Crochet (3 sc, 1 increase) repeat around. [30 stitches]
Once the head is complete, stuff it lightly, attach the head to the body, and use your yarn needle to sew the two pieces together securely. You can now continue by adding the details, such as the eyes, nose, and ears.
Adding Details
To finish off your Snoopy keychain, you’ll need to add some facial features and the ears.
- Eyes: Sew or glue plastic eyes onto the head. Alternatively, you can crochet small circles with black yarn for eyes.
- Nose: Use black yarn or embroidery thread to stitch a small oval for the nose.
- Mouth: Use a small stitch of black yarn to create a smile.
- Ears: Crochet two small oval shapes for the ears and attach them to either side of the head.
Finishing Touches
After you've attached the ears and added the facial features, you can attach a keychain ring to the top of Snoopy’s head to make it a functional keychain. Finally, consider adding a little yellow collar for extra detail using a small amount of yellow yarn. This adds that perfect touch to your little Snoopy!
Assembling the Snoopy Keychain
Now that you’ve crocheted all the components, it’s time to assemble your keychain. Start by stitching the legs and arms to the body using a yarn needle. Then, attach the head to the body securely. Finally, attach the keychain ring to the top of Snoopy’s head using a strong knot. Make sure all parts are securely attached.
Watch our step-by-step video for more visual guidance on creating the Snoopy keychain!